Flutter WebRTC: Build Your Video & Audio Calling App (2025)
We are living in an era of technological growth at its peak. Post-pandemic, we’ve seen the rise of audio and video calling technologies and the enhancements that took place in them.
The pandemic made us realize the importance of communication in business and also made remote work possible. Audio and video calls played a major role in these enhancements, promoting multi-platform apps.
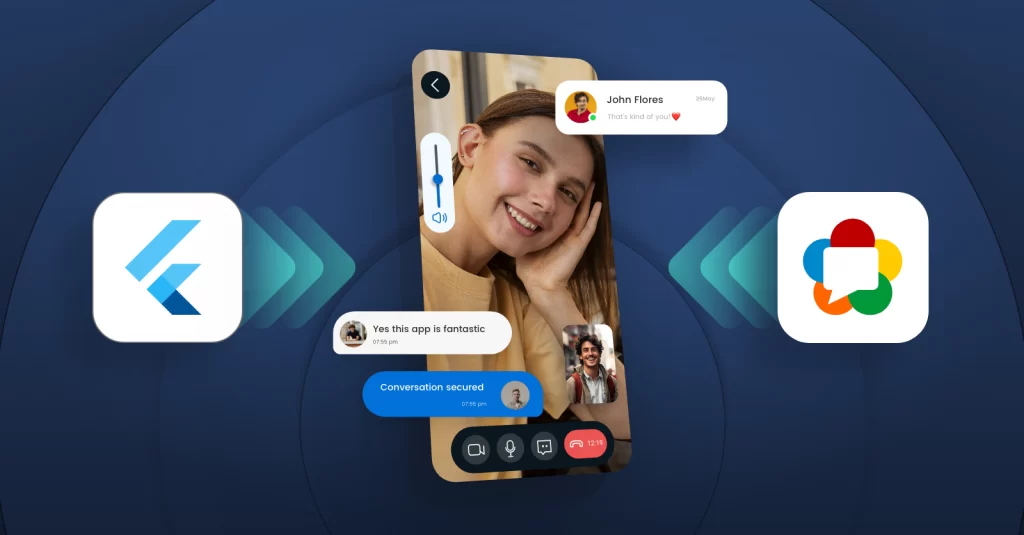
More than 46% of the developers use Flutter as their cross-platform framework, along with the real-time communication protocol WebRTC. Flutter WebRTC is a key to the modern communication apps in the world right now.
Further in this blog, let’s have a clear discussion about Flutter WebRTC, their work structure, advanced features of WebRTC Flutter, and more.
Table of Contents
What is Flutter?
Flutter is an open-source, multi-platform framework developed by Google. It is an easy-to-use UI toolkit for developing and deploying apps on iOS, Android, the Web, and desktops with a single-code base. Flutter is often used with Dart, an object-oriented programming language developed by Google.
Flutter is popular and well-known for its key benefits, such as
- Hot reload feature
- Single-code base
- Cross-platform compatibility
- Open-source
- Access to third-party libraries
- Large community support
What is WebRTC?
WebRTC stands for Web real-time communication protocol, which is a free open-source project that facilitates real-time communication among peers via APIs (application programming interfaces).
These APIs can be integrated into any web or mobile app. Here are some of the key benefits of WebRTC:
- High-quality communication
- Low latency
- No need for additional plugins
- End-to-end encryption
- Easy to use
- Multi-platform compatibility
What is Flutter_WebRTC?
Flutter_WebRTC is a plugin for the Flutter framework to build secure multi-platform apps with real-time audio and video functionalities.

Some key benefits of Flutter_WebRTC chat and video call are
- Cross-platform compatibility
- SIP protocol stack
- WebRTC library
- Easy API integration
- Signaling server
- Error handling and debugging
- Community support
How To Build A Flutter WebRTC Video Calling App in 2025?
Building a Flutter WebRTC voice and video calling app with MirrorFly involves implementing the WebRTC protocol to enable real-time communication in your Flutter app, such as video and audio conversations, as well as making use of MirrorFly’s APIs for advanced capabilities like messaging, presence, and notifications.
Steps To Build A Flutter_WebRTC Video Calling App
- Step 1: Create a MirrorFly Account
- Step 2: Log in to your Account
- Step 3: Retrieve the License key from the app Info section
- Step 4: Add the following code to the root build.gradle file in your Android folder.
- Step 5: Verify and add the following code at the end of your ios/Podfile.
- Step 6: Now, disable Bitcode for your project.
- Step 7: Now, enable all the capabilities listed below in your project.
- Step 8: Add the dependencies listed below in the pubspec.yaml file.
- Step 9: Run the flutter pub get command in your project directory.
The following are the key steps for creating a simple Flutter WebRTC app using MirrorFly:
Requirements
For Android
- Android Lollipop 5.0 (API Level 21) or above
- Java 7 or higher
- Gradle 4.1.0 or higher
- targetSdkVersion,compileSdk 34 or above.
- The minimum requirements for iOS
For iOS
- iOS 12.1 or later
Get License Key
Step 1: Create a MirrorFly Account
Step 2: Log in to your Account
Step 3: Retrieve the License key from the app Info section
r
Integrate Call SDK
Create Android Dependency
Step 4: Add the following code to the root build.gradle file in your Android folder.
allprojects {
  repositories {
      ...
      ...
      jcenter()
      maven {
          url "https://repo.mirrorfly.com/release"
      }
  }
}
Ensure that the following attributes are included in the app/build.gradle file in your Android folder.
android {
  compileSdk 34 // or higher
  ...
  defaultConfig {
    ...
    minSdkVersion 21
    targetSdkVersion 34 // or higher
  }
}
Create iOS dependency
Step 5: Verify and add the following code at the end of your ios/Podfile.
post_install do |installer|
  installer.aggregate_targets.each do |target|
           target.xcconfigs.each do |variant, xcconfig|
           xcconfig_path = target.client_root + target.xcconfig_relative_path(variant)
           IO.write(xcconfig_path, IO.read(xcconfig_path).gsub("DT_TOOLCHAIN_DIR", "TOOLCHAIN_DIR"))
           end
       end

  installer.pods_project.targets.each do |target|
    flutter_additional_ios_build_settings(target)
    target.build_configurations.each do |config|
      config.build_settings['IPHONEOS_DEPLOYMENT_TARGET'] = '12.1'
      config.build_settings['ENABLE_BITCODE'] = 'NO'
      config.build_settings['APPLICATION_EXTENSION_API_ONLY'] = 'No'
      config.build_settings['BUILD_LIBRARY_FOR_DISTRIBUTION'] = 'YES'
      config.build_settings["EXCLUDED_ARCHS[sdk=iphonesimulator*]"] = 'arm64'

      shell_script_path = "Pods/Target Support Files/#{target.name}/#{target.name}-frameworks.sh"
            if File::exist?(shell_script_path)
              shell_script_input_lines = File.readlines(shell_script_path)
              shell_script_output_lines = shell_script_input_lines.map { |line| line.sub("source=\"$(readlink \"${source}\")\"", "source=\"$(readlink -f \"${source}\")\"") }
              File.open(shell_script_path, 'w') do |f|
                shell_script_output_lines.each do |line|
                  f.write line
                end
              end
            end
     end
  end
end
Step 6: Now, disable Bitcode for your project.
Goto Project -> Build Settings -> Filter the term `Bitcode` -> and select No from the dropdownStep 7: Now, enable all the capabilities listed below in your project.
Goto Project -> Target -> Signing & Capabilities -> Click + at the top left corner -> Search for the capabilities belowNow, navigate to the Background Mode and enable the modes listed below.
- Background Modes
- Audio,Airplay, and Picture in Picture
- Voice over IP
- Background fetch
- Remote notifications
Create Flutter Dependency
Step 8: Add the dependencies listed below in the pubspec.yaml file.
dependencies:
  mirrorfly_plugin: ^1.0.7
Step 9: Run the flutter pub get command in your project directory.
You can then use all the classes and methods with the following import statement:
import 'package:mirrorfly_plugin/mirrorfly.dart';Initialize MirrorFly Plugin
To initialize the plugin, add the following code inside the main.dart file, within the main function, before runApp().
void main() {
  WidgetsFlutterBinding.ensureInitialized();
  Mirrorfly.initializeSDK(
      licenseKey: LICENSE_KEY,
      iOSContainerID: iOS_APP_GROUP_ID,
      flyCallback: (FlyResponse response) {
        runApp(const MyApp());
      }
  );
 }
Login
To log in a user in sandbox Live mode, utilize the following method:
Mirrorfly.login(userIdentifier: userIdentifier,
  fcmToken: token,
  isForceRegister: isForceRegister,
  flyCallback: (FlyResponse response) {
  if(response.isSuccess && response.hasData){
    // you will get the user registration response
    var userData = registerModelFromJson(value);
  }
});
Make a Voice Call
To initiate a one-on-one voice call, use the method provided below.
Mirrorfly.makeVoiceCall(toUserJid: USER_JID, flyCallBack: (FlyResponse response) {
  if (response.isSuccess) {
  }
});
Receive a call
The SDK will handle receiving and processing the incoming call payload, and will trigger CallKit for iOS and Incoming Call Intent for Android when connected to the server in the foreground state. Once the call is presented with Accept/Reject options, you can either accept or decline the call. If you accept the call, the onCallStatusUpdated event listener will be triggered, and the status will be updated to “Attended.”
Mirrorfly.onCallStatusUpdated.listen((event) {
  var statusUpdateReceived = jsonDecode(event);
  var callMode = statusUpdateReceived["callMode"].toString();
  var userJid = statusUpdateReceived["userJid"].toString();
  var callType = statusUpdateReceived["callType"].toString();
  var callStatus = statusUpdateReceived["callStatus"].toString();
});
On implementing these steps, you will have a fully functional Flutter WebRTC app for your platform.
How Does Flutter WebRTC App Work?
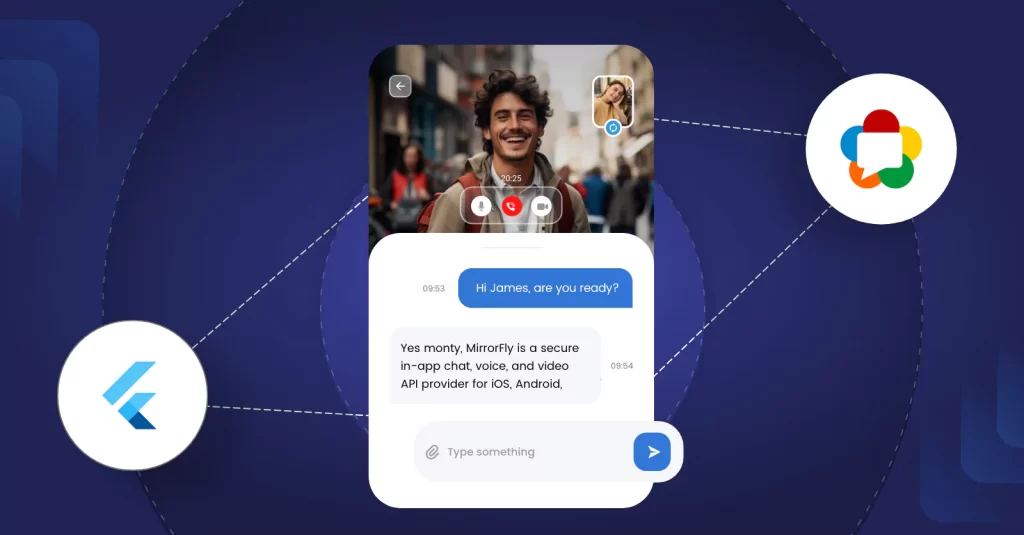
Flutter WebRTC uses the W3C WebRTC API, which allows developers to build cross-platform-compatible real-time video calling applications with ease. The API takes care of heavy loads, which enables developers to concentrate on building the app without worrying about real-time functionalities.
Handling Errors and Debugging Your Application
Handling errors and debugging your application in the WebRTC Flutter project involves a few steps, as follows:
1. Checking for known issues: If you encounter any errors while working on your FLutter-WebRTC plugin, you can easily look into the issues through the plugin’s GitHub page for known issues.
2. Enabling debug logging: You can enable debug logging to help troubleshoot your application. Here’s how you can do it:
cation. Here’s how you can do it:
// Create a new instance of the WebrtcLog class
WebrtcLog _webrtcLog;

// Use the WebrtcLog methods to start and stop logging
_webrtcLog = WebrtcLog(onMessage: (String message) {});
await _webrtcLog.start();

// To stop logging:
await _webrtcLog.stop();
A callback function is available in the WebrtcLog class for when a log message is generated. This callback can be used to show the log message in the user interface of your program.
3. Reporting Errors to a Service: Create a report regarding the error and the associated stack trace. Once the report is prepared, you can send it to error tracking services like Bugsnag, Datadog, Firebase Crashlytics, Rollbar, or Sentry.
Debugging is an important part of development, especially when working with frameworks like Flutter. It helps you troubleshoot problems that may not become evident with frequent use and understand what’s going on beneath the surface. Mastering Flutter debugging can make the process even more efficient and effective.
Using a Signaling Server
A WebRTC connection can be enabled by exchanging signaling data among peers. This data typically includes information such as session descriptions and ICE candidates. The Flutter-WebRTC plugin doesn’t provide a signaling server, so you have to implement it on your own.
But here is a simple way. The Flutter-WebRTC community maintains a flutter-webrtc-server project that provides a simple signaling data server for the WebRTC-Flutter plugin. Here’s how you can make use of it.
# Clone the repository
git clone https://github.com/flutter-webrtc/flutter-webrtc-server.git

# Change directory
cd flutter-webrtc-server

# Use mkcert to create a self-signed certificate
brew update
brew install mkcert
mkcert -key-file configs/certs/key.pem -cert-file configs/certs/cert.pem localhost 127.0.0.1 ::1 0.0.0.0

# Run the server
brew install golang
go run cmd/server/main.go
After running these commands, open https://0.0.0.0:8086 for Flutter Web Demo. Check webrtc-flutter-demo to test the mobile app.
In order to use it in a production environment, perform multiple tests to make sure of the result.
Advanced Features of Flutter WebRTC
The Flutter WebRTC plugin has multiple advanced features for real-time video and audio calling apps. Here come the advanced features of the WebRTC Flutter plugin.
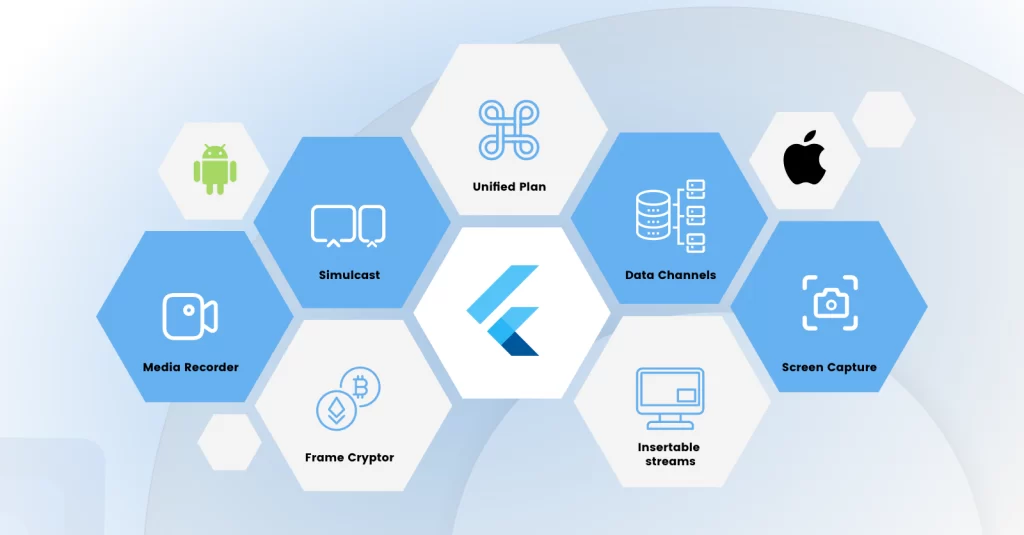
- Data Channels: Along with video and audio data, data channels allow you to send optional data among peers.
- Screen Capture: Flutter-WebRTC allows you to share screen among peers in a one-to-one or group video call and conferencing.
- Unified Plan: The Unified Plan SDP format is supported by the plugin, enabling more adaptable media settings.
- Simulcast: Using this technique, the sender can encode the same media multiple times in different qualities.
- Media Recorder: The Flutter WebRTC plugin allows you to record both audio and video calls in an ongoing session.
- FrameCryptor: This ensures all your audio and video calls are end-to-end encrypted.
- Insertable Streams: This WebRTC Flutter plugin feature allows you to control the media streams directly.
These are some of the advanced features of the Flutter WebRTC plugin that allow you to create an advanced real-time audio and video calling app.
Integrate WebRTC Flutter SDK Using MirrorFly in Easy Steps
MirrorFly is a secure in-app chat, voice, and video API provider for iOS, Android, Web. It has 150+ enriched communication features for real-time communication with multi-platform compatibility by enabling Flutter WebRTC plugin.
MirrorFly SDKs are compatible with apps of any size and have advanced security features and API infrastructure.
Here are some of the key features of the MirrorFly SDK’s Flutter WebRTC plugin.
- Integration in < 10 minutes
- Multi-platform compatibility
- Ultra-low latency
- 99.999% uptime SLA
- End-to-end encryption
- One-on-one and group video and voice calls
- Video conferencing
- Compatible with privacy regulation laws HIPAA, GDPR, and OWASP
- Highly scalable APIs
- Multi-tenancy support
- Large file sharing
Moreover, MirrorFly in-app communication SDKs allow you to integrate their SDKs at a one-time license fee with complete ownership of source codes or buy on month-on-month subscription packages. Book a quick demo to check your app’s feasibility with the Flutter-WebRTC plugin.
Signing Off
Thank you for reaching this far by investing your time in reading this article. I hope this article gives you enough data regarding the Flutter WebRTC plugin. If you are planning to integrate the WebRTC Flutter plugin into your app, try a demo with multiple providers.
If you still have any queries regarding the Flutter WebRTC plugin, you can post them in the comments section below or talk to an expert who can clarify your queries in real-time.
Good luck on your search. Adios Amigo! Signing off.
Related Articles

